|
|
 Enhancements / Modifications - Enhancements / Modifications -92 SC |
|
|
Enhancements / Modifications - 92 SC |
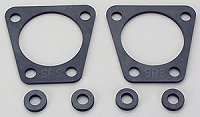
| SPS Rear Wheel Spacers With the Carrera strut housing's larger-than-stock body, lots of negative camber, and a wider aftermarket rims/tires, rear spacers will give a little bit more room to work with. While the front spacers go between the rim and the wheel, the rear go between the hub and the knuckle. So, unlike the front, the entire length of the rear lugs remains useable. These are an easy install if you're accustomed to swapping
out your rear hubs (as most Saturns that sees the track need quite often). |
|
|
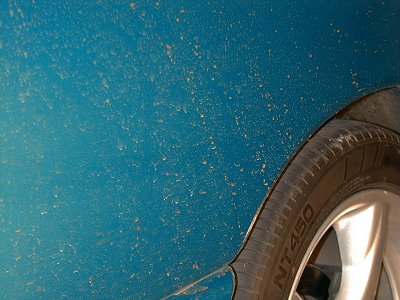
Hawk Blue Brake Pads I've always loved the the feel and performance on the track that I've gotten from Hawk Blue pads when I've run them on my 94 SC2. I'll also be using these pads on the 92 SC. Warm up time is minimal, and pedal effort required feels to be slightly less than the average street pad. While these pads squal, squeak, and grind, they also bite like you wouldn't believe. They have great fade resistance and give amazing braking power when used with race tires. The Hawk brand of brake pads can be bought directly from Carbotech, and are pretty much a track pad that isn't suitable for the street. I've found that they put out a lot of dust that is very very bad for your wheels & paint if you let any moisture contact it (see pic HERE). When I used the Hawk Blue pads on the front of my 94, I also used the Blacks on the rear. |
| But since the 92 is significantly lighter than the 94 (and especially in the back end), I'll be using plain old OEM Saturn pads on the rear calipers. Team scR and the SPC project car have found that stock rear pads on a lightened car provide the perfect brake bias for track use. Update: With my Hawk Blue pads completely used up, and Hawk no longer making them for Saturns, I had to try some Carbotech Panther Plus pads. We'll see how these compare. 8/2003 - The Panther
Plus are no Hawk Blue, and don't work quite as well for my purposes. I
decided to try to fit Hawk Blue pads made for a different car. You can
read about it HERE. |
|
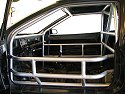
| 6-Point Rollcage
Since my 92 SC is going to live on the track, a rollcage is a
necessity. Not only will it protect the occupants in case something bad happens, but
it also does a great job at making the chassis incredibly stiff resulting in better
handling and control. And having driven other cars on the track with a cage
installed, seeing it around me gives a bit of added confidence. I know that I will
be driving the car differently, and get much more enjoyment from being able to do so. |
|
| Since this was a fabrication job that I wasn't able do myself, special thanks goes to
Bill H, Dave S, and Mike F for their excellent work. If you're ever in the market
for a rollcage in the northern IL area (built by guys with Saturn experience), drop me a
line and I'll put you in touch with them. You can see a whole mess of fabrication and paint pictures on my cage fabrication & paint page. 1/2003 - Installed black Longacre rollbar padding. 7/2004 - Prepped and painted the rollcage a metallic silver color that matches the wheels. Also installed some silver/gray rollbar padding to match the new paint.
5/2006 -
Calculated the total weight of the rollcage. Details are on the
cage fabrication & paint page. |
|
|
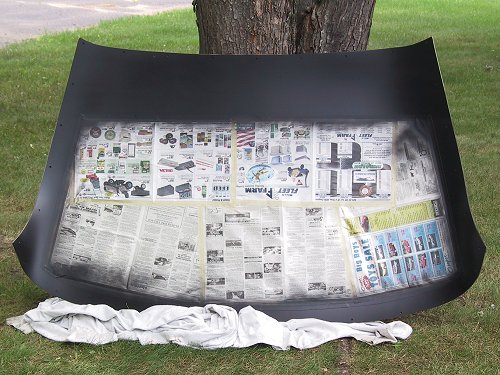
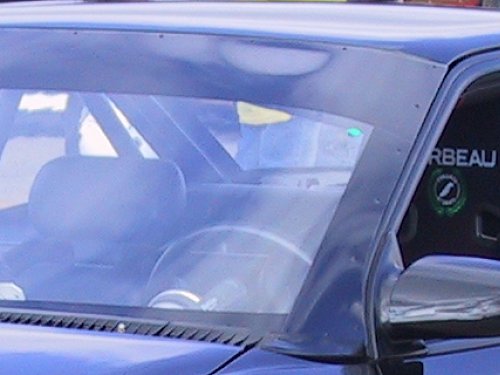
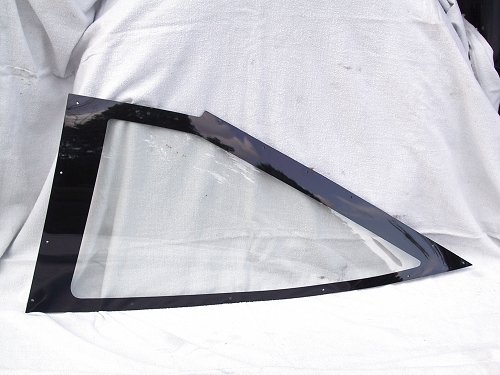
Lexan Replacement Windows Added 7/2002 |
||||
 Before borders / edges blacked out. |
 Painting the borders. |
 Blacked out borders (using vinyl). |
 Blacked out borders (using paint). |
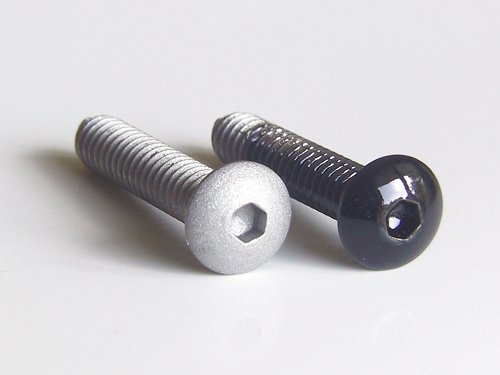 Allen screws, before & after powdercoating. |
|
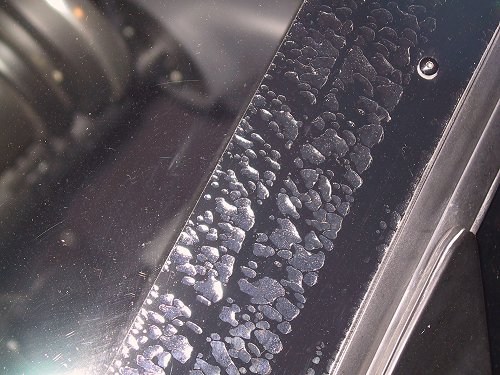
Click any of the thumbnails above for a larger picture. The windshield, rear window, and triangular side windows were replaced with Lexan by Bob at ProGlass. Lexan is more impact resistant than glass, and it is significantly lighter as well. The weight savings from this modification was about 35 lbs. Prior to being attached to the car, the replacement pieces were formed in an oven to hold the proper curve. They are held in place by Allen-head screws, and all the windows can now be removed from the car in under 5 minutes. The windows in the doors were removed at a different time and replaced with 1/8 plexiglass from my local hardware store. It's not as scratch resistant as the Lexan, but it is significantly cheaper. Since the side windows need to be out of the car while on the road course, but in the car while on the dragstrip or while the car is being trailered, they're constantly being taken in/out and laying on the ground while I'm at the track. With the scratches and wear caused by this constant handling, they'll need to be replaced every few years. For these side windows, cheap is good. 9/2002 - Using spray paint, I blacked out the edges of the small triangular rear side windows. An outline of the border was made with masking tape, and the Lexan surfaces that would receive paint were scuffed with a Scotchbrite pad. Careful removal of the masking tape from the painted Lexan made a less-than-perfect painted edge. While it looks fine from a few feet away, it's not up to the quality I would have liked. Because of this, I've decided to use black vinyl instead of paint on the borders of the windshield and rear window. Also powdercoated all of the allen screws which hold the Lexan in. You can see photos on my powdercoating page. 10/2002 - Applying black automotive decal vinyl (which I purchased at a local sign shop) to the borders of the Lexan worked pretty well. It's not 100% perfect due to the difficulty of cutting with an X-acto blade on a curve, but it'll do. Also had to lay down some weatherstripping before re-installing the Lexan, otherwise the car wouldn't even be close to being waterproof. 4/2003 - After a very hot day out in the sun at the dragstrip, the vinyl that I used to black out all the borders of the lexan windows has started to bubble (you can see a pic HERE). I have no idea why this is, since I was extremely careful in preparation and application, following the instructions provided by the manufacturer. I removed the vinyl and decided to use paint to black out the borders of these windows as well. But this time, I'll have to be even more meticulous in preparation and application.
7/2003 -
I purchased some professional auto body painter's
masking tape from a 3M dealer, and used a solvent used by automotive paint
shops to clean the Lexan surfaces that would receive paint. A better quality
of spray paint was found that had a slower drying time, in hopes that that
characteristic would prevent the dried paint from becoming brittle prior to
the masking tape being peeled off. All these steps paid off, and the
front and rear windows look perfect after the border painting is complete. |
|
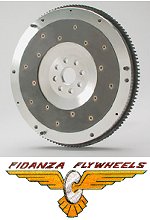
Fidanza Lightweight Flywheel In the past, I'd chosen not to run a lightweight flywheel on my '94. I've heard that the car loses a bit of low-end torque, and requires a higher RPM when the clutch is released. This is a concern with all the miles I put on my '94, but since the '92 won't see any street driving, it's not a concern with this car. This flywheel weighs only about 8 lbs, compared to 18 lbs for the factory flywheel. In addition to making the car even lighter, it should spin up a bit quicker and affect acceleration noticeably. I'll be sure to report more as I get some miles on the car. Bryce put together an excellent write-up on the install of
this flywheel on a daily-driven/track car, and you can look
HERE
in our Saturn Performance Club mailing list archives to give it a read. If you'd
like information on how to subscribe to the mailing list, you can read about it HERE. |
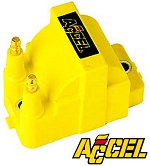
| Accel Coil Packs
These
were another used acquisition for the purpose of preventative maintenance, and they're
sure to keep the ignition system operating at its best. These coils pretty generic -
they're made for 1986 and up GM vehicles (part number 140017) and you can find them at Jegs. From the manufacturer's description listed,
these coils provide 11% peak increase in energy over OE. 21% peak increase in voltage over
OE. 21% peak increase in dwell over OE. 12% peak increase in current over OE. |
Added
8/2002 |
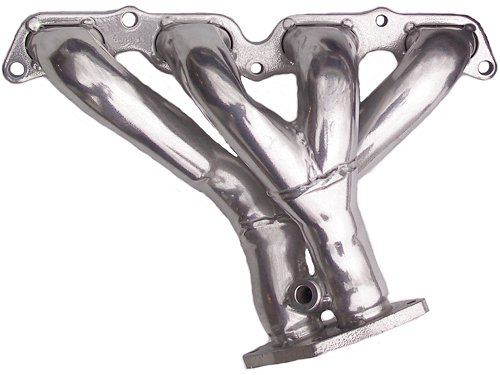
HPC Coated OEM Header
With the numerous problems I've had with the
Hotshot header that's on my '94 (see the writeup HERE),
I've decided to go with a different choice for the '92. This is a real header that
came stock on '91 & '92 model year Saturns. Compared to other aftermarket
headers that are available, the OEM finish and build quality is outstanding. Plus,
it places the oxygen sensor so that it gets its reading off of all four cylinders making
it more accurate than the Hotshot, which reads from only two. |
|
I picked this up used from a fellow Saturn enthusiast who had the primary
coated by HPC. The
coating very closely resembles chrome and the finish looks great. HPC's website lists all the
specifics on the coating's reduction in engine compartment temperatures and how it affects
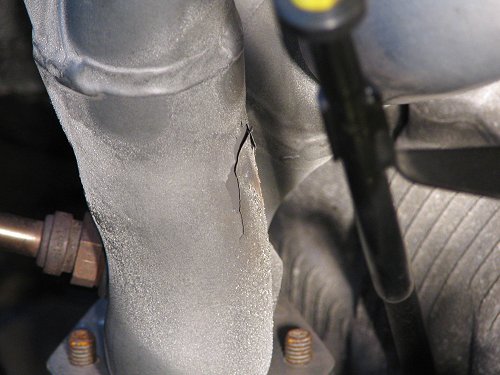
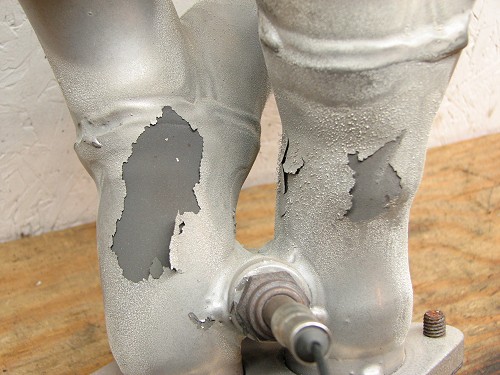
performance, so check it out if you're interested. You can see a larger pic of the header HERE. 10/2002 - After the first track session with this header installed, the heat seems to have made the coating much less reflective. Its now a dull finish and looks more like stainless steel than chrome. 6/2003 - After another track session, the coating has started to blister and peel off. For a coating process that isn't that cheap, I would not have expected this. You can see a photo HERE. I doubt I would pay to have any other parts HP Coated. 7/2008
- A whole bunch more track time, and the coating now looks like
THIS. |
|
|
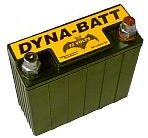
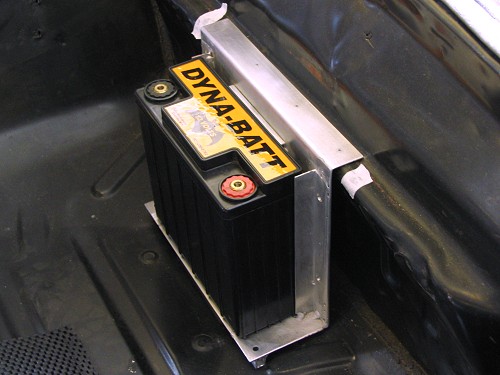
Dynabatt Lightweight Race Battery This battery is a very worthwhile addition due to the weight savings over the typical stock battery - it is about 26 lbs lighter. It's tough to find weight that is able to be removed from the front of the car, but this weight difference really matters as it will improve the car's front/rear balance. While this battery probably wouldn't work well in very cold weather, it does just fine for a seasonal track car. Plus, it is a gel cell so it can be mounted in any position or location without worrying about leaking or venting. There are also other "non name-brand" batteries equivalent in size and storage to this one that can be found for a lower price (details HERE).
A hold-down strap was fabricated from
steel and powdercoated, and the battery was located in the stock location. |
|
|
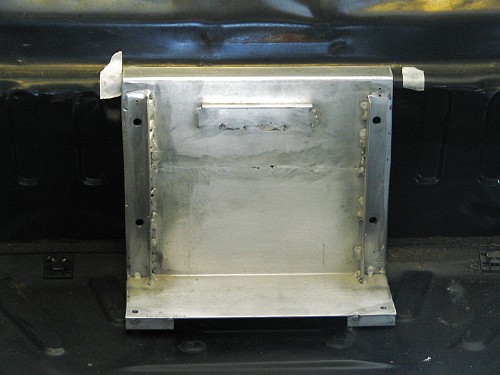
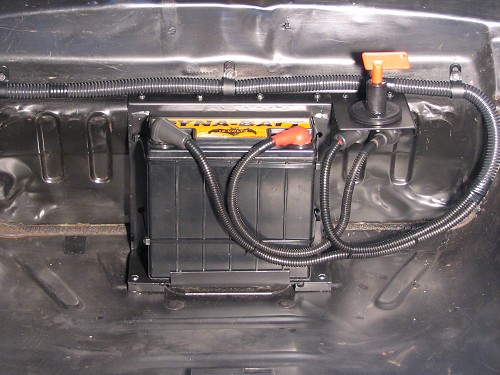
7/2006 - For better balance and weight
distribution, and to make room under the hood for some upcoming modifications,
the battery was relocated to the rear of the car. Two-gauge welding
cable was run from the under-hood fuse block and from the alternator to the
trunk. Safety was a priority when running this cable - it was run
inside the vehicle and routed so that any future crash damage would not
cause the body to crimp it or cut into it. A cut-off switch was also
installed so that the car again has a key that I can remove for security.
It also allows a complete disconnect of the battery from the electrical
system for the times when I need to work on the car, or when it is time to
store it for the winter. A very lightweight aluminum tray was
fabricated to hold the battery, and a bracket was also made to hold the
switch. After a coat of black paint and some split loom, both were
securely fastened to the rearmost
part of the spare tire well. Click any of the thumbnails below for a
larger picture. |
|
|
|
|
|
|
|

